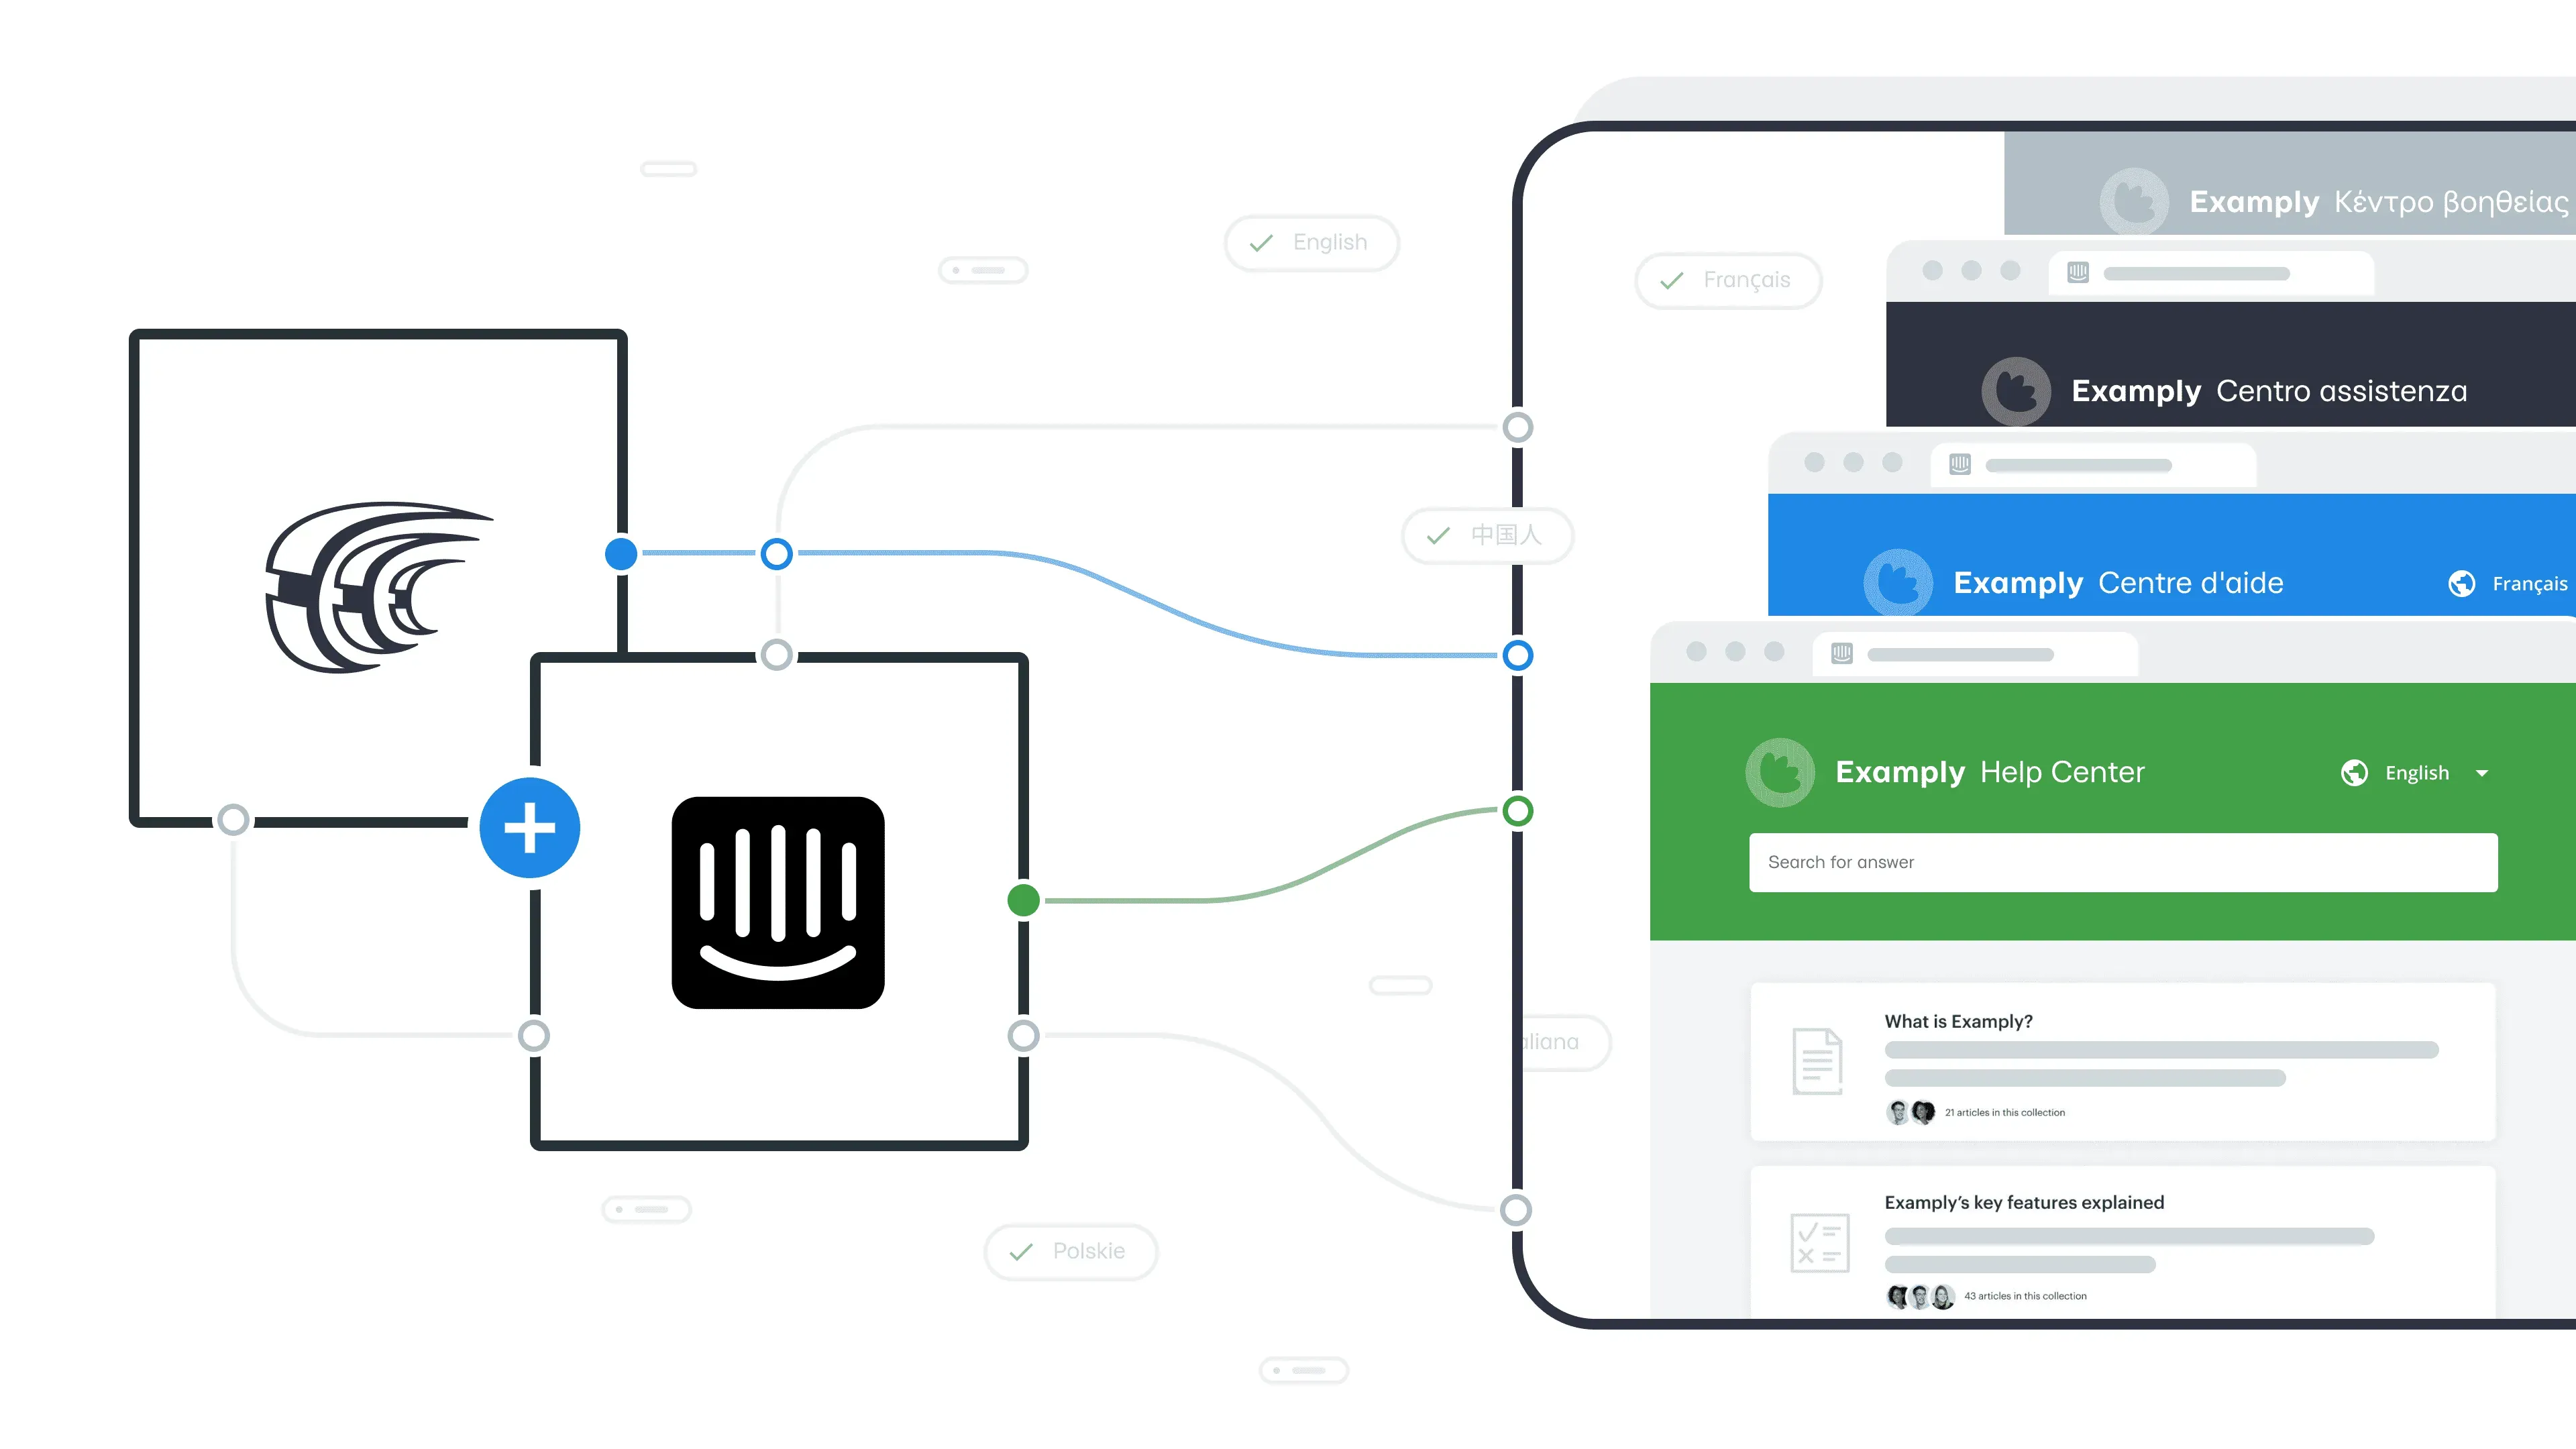
Help centers are a significant way to educate people about your product and communicate with them. Localizing your articles to clients’ native language is essential for this, as this way you can reach more people and build stronger relationships. Read on to find out how and what kind of content from your help center you can localize with our new Intercom app.
Importance of a Help Center and Making It Multilingual
You probably already know how important it is to provide helpful and educational content for your customers. By means of it, people better understand your product and get answers faster. For some customers, it’s easier to read an article instead of reaching out to the support team. At the same time, if the client already started the conversation with your team, receiving a relevant article could save time for both of them. That’s why you need to make sure your help center articles are informative. Content localization helps your customers better understand and feel closer to your product. Localizing help articles into the languages your customers speak increases the value of your documentation in general and will help you stay relevant in foreign markets.
You can get some insights about your help center audience with Google Analytics. Here you can find demographics data like where your users are located: country, city, and most importantly, the language they use in their browser. This way, you will be better prepared for the next stage-setting up integration and localization of content.
Intercom Content You Can Localize with Crowdin
Intercom integration is implemented as one of Crowdin applications. It allows you to synchronize files for translation between your Intercom Help Center and your Crowdin project, where the content translation process takes place.
What Intercom units you can upload to Crowdin:
- Collections
- Separate articles
- Category and section names
- Existing translations from Intercom
How to Connect Crowdin + Intercom
Integration with Intercom is a free app on Crowdin Marketplace. To use it, you’ll first need an account on Crowdin or Crowdin Enterprise. If you don’t have an account yet, you can start a free trial or choose a subscription plan. With Crowdin, you can translate your content on separate projects by inviting your team to join each. While, with Crowdin’s Enterprise translation management solution, you can create your organization, where several teams can cooperate, and you can set up flexible localization workflows. Once you have your account, you can proceed to the next step-installing the Intercom app.
To connect Intercom with your project on Crowdin, follow these steps:
- Log in to your Crowdin account.
- Open Resources in the top navigation bar > Marketplace, find Intercom and click Install.
- Select the users that will be able to use the app and the projects where it will be available.
- Open the app in the Project Settings > Integrations > Intercom app.
To connect Intercom with your project on Crowdin Enterprise, follow these steps:
- Log in to your Crowdin Enterprise account.
- Find Marketplace in the left navigation bar, find Intercom and click Install.
- Select users that will be able to use the app and the projects where it will be available.
- Open the app in the Project Settings > Application > Custom > Intercom app.
How to Use Intercom Integration
Once you have installed the application, you can send all the necessary articles to Crowdin, where the translation process will happen. Immediately after, you can send the completed and ready-to-publish translations to Intercom.
Syncing Your Articles
To get started with your content localization process, you need to:
- Open your project settings in Crowdin or Crowdin Enterprise account.
- Go to Integrations > Intercom.
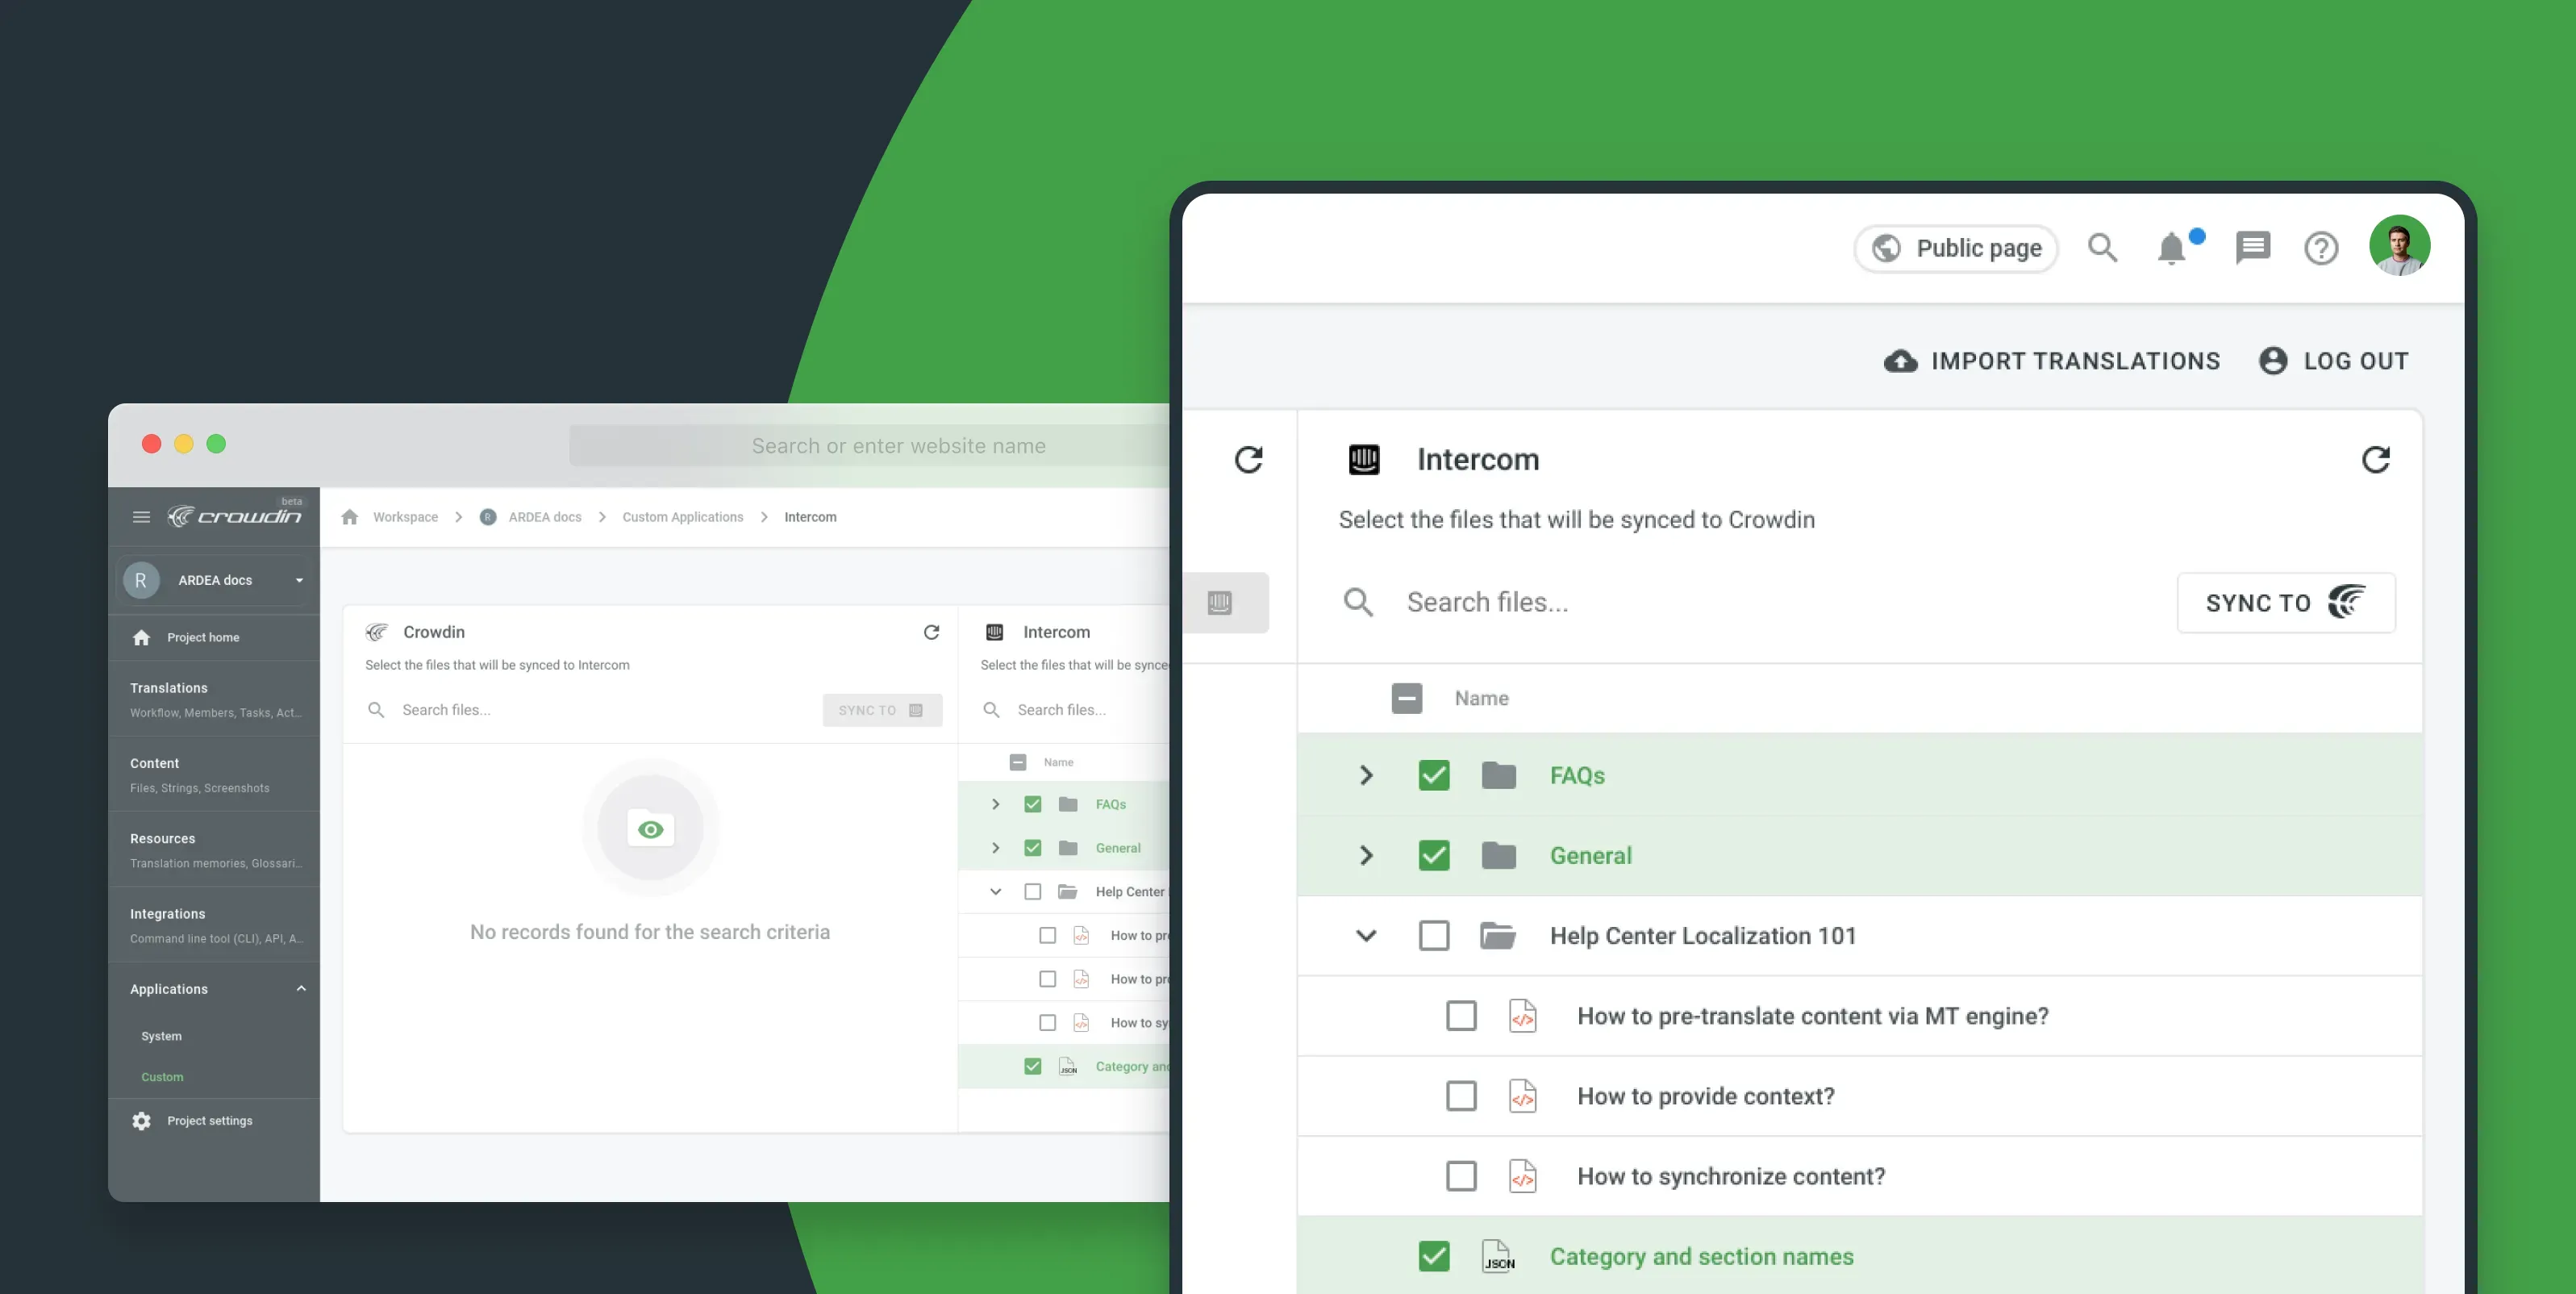
- Select files you want to sync to Crowdin in the right part of the table. You will see your Intercom Help Center collections and articles not added to any of the collections.
- Click Sync to Crowdin.
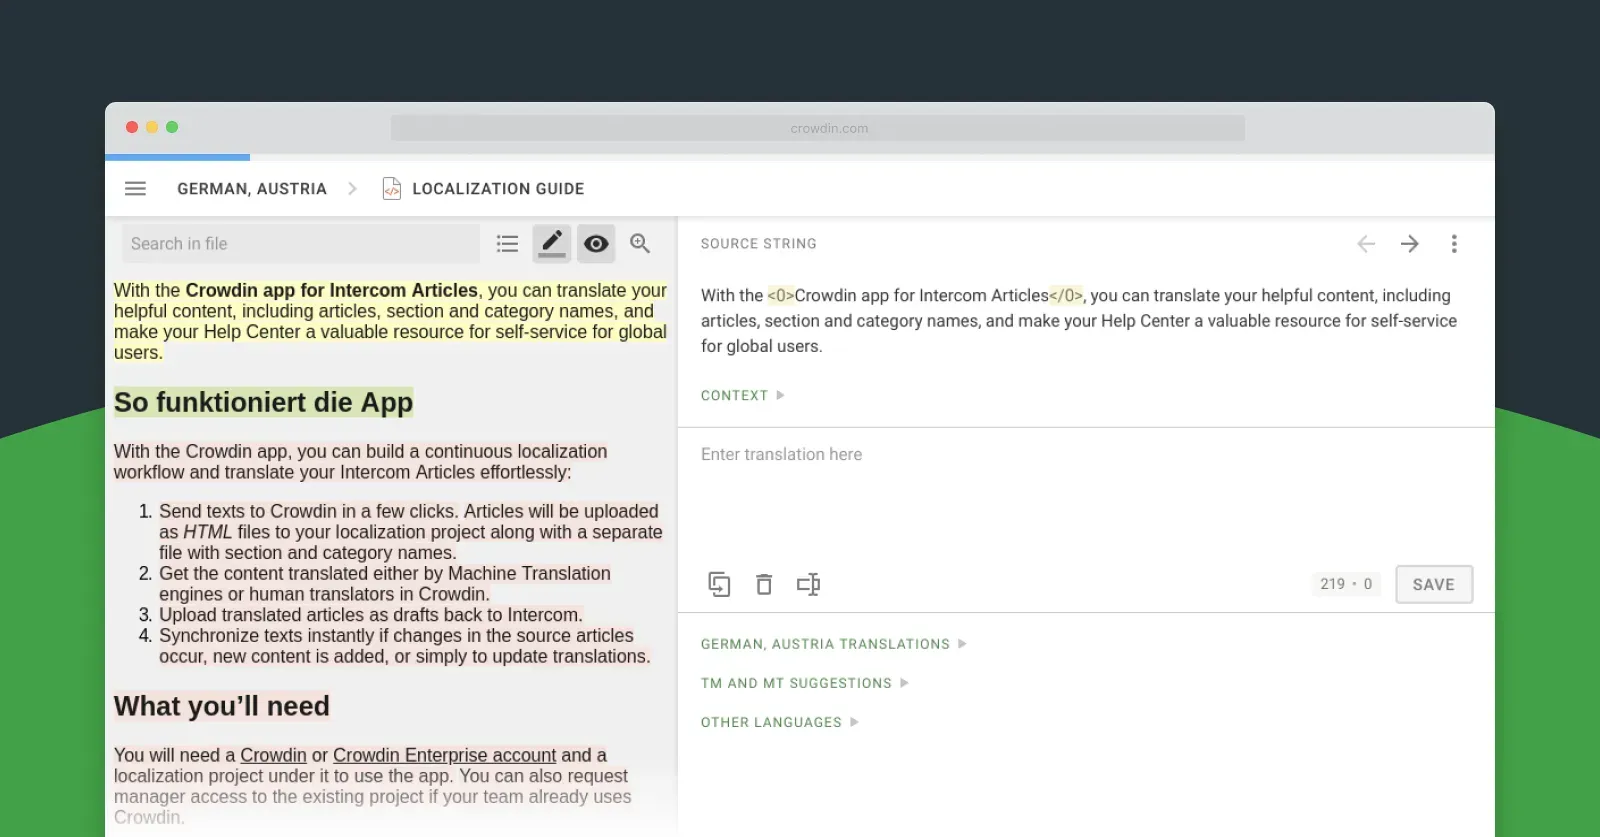
- Go back to the Crowdin project, choose the language, and start the translation process.
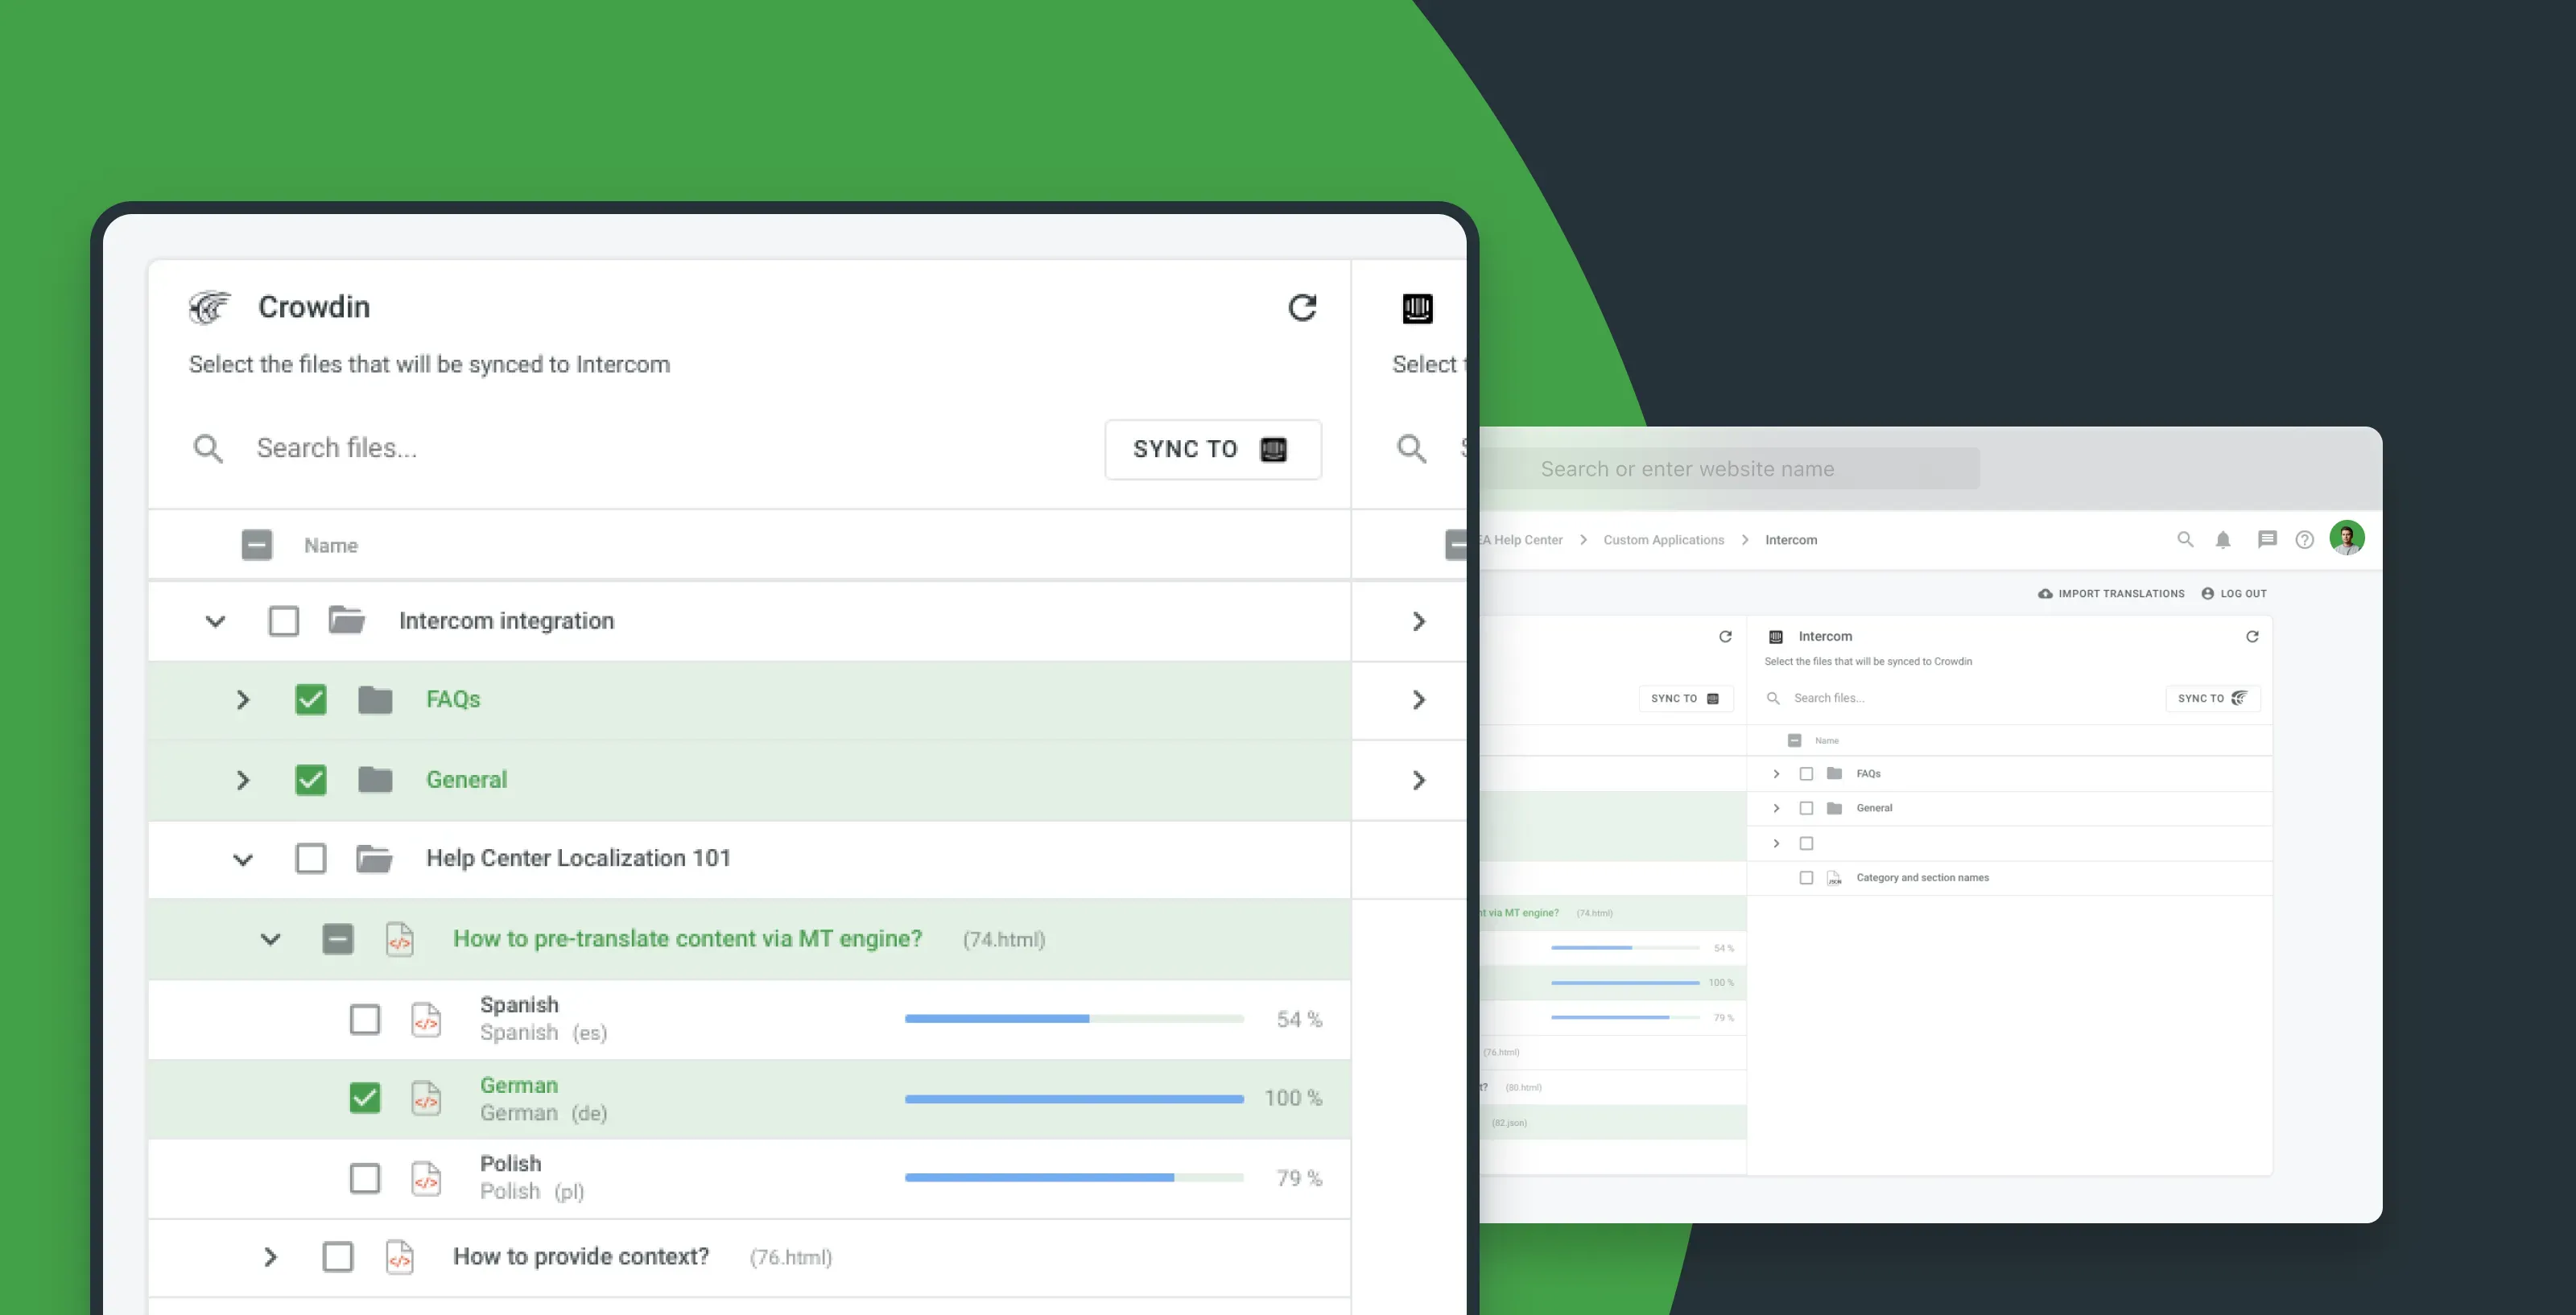
- After finishing the translation, you need to go back to Intercom integration.
- Select files you want to sync back from Crowdin to Intercom in the left part of the table.
- Click Sync to Intercom.
After this, all of your localized articles will be available on the Intercom page. You can find them in the following way:
- Open one of the articles in Intercom.
- Choose the appropriate languages from the list of languages above to see the translated draft version. Now all you have to do is publish it.
Translating Section and Category Names
During the file synchronization process, you will see a separate file called Category and section names. This file will be in the same part of the table where your Intercom Help Center collections and articles are. After syncing content to Crowdin, this file will automatically appear in your Crowdin project at the top of the list. Remember to translate this segment too. You have to translate the name of each collection. Otherwise, the collection won’t appear on the homepage of your Intercom Help Center.
Sync Existing Translations from Intercom
If you already have some translations at your Intercom Help Center, you can import them to Crowdin as well. But before uploading, please make sure to add needed languages to your Crowdin project.
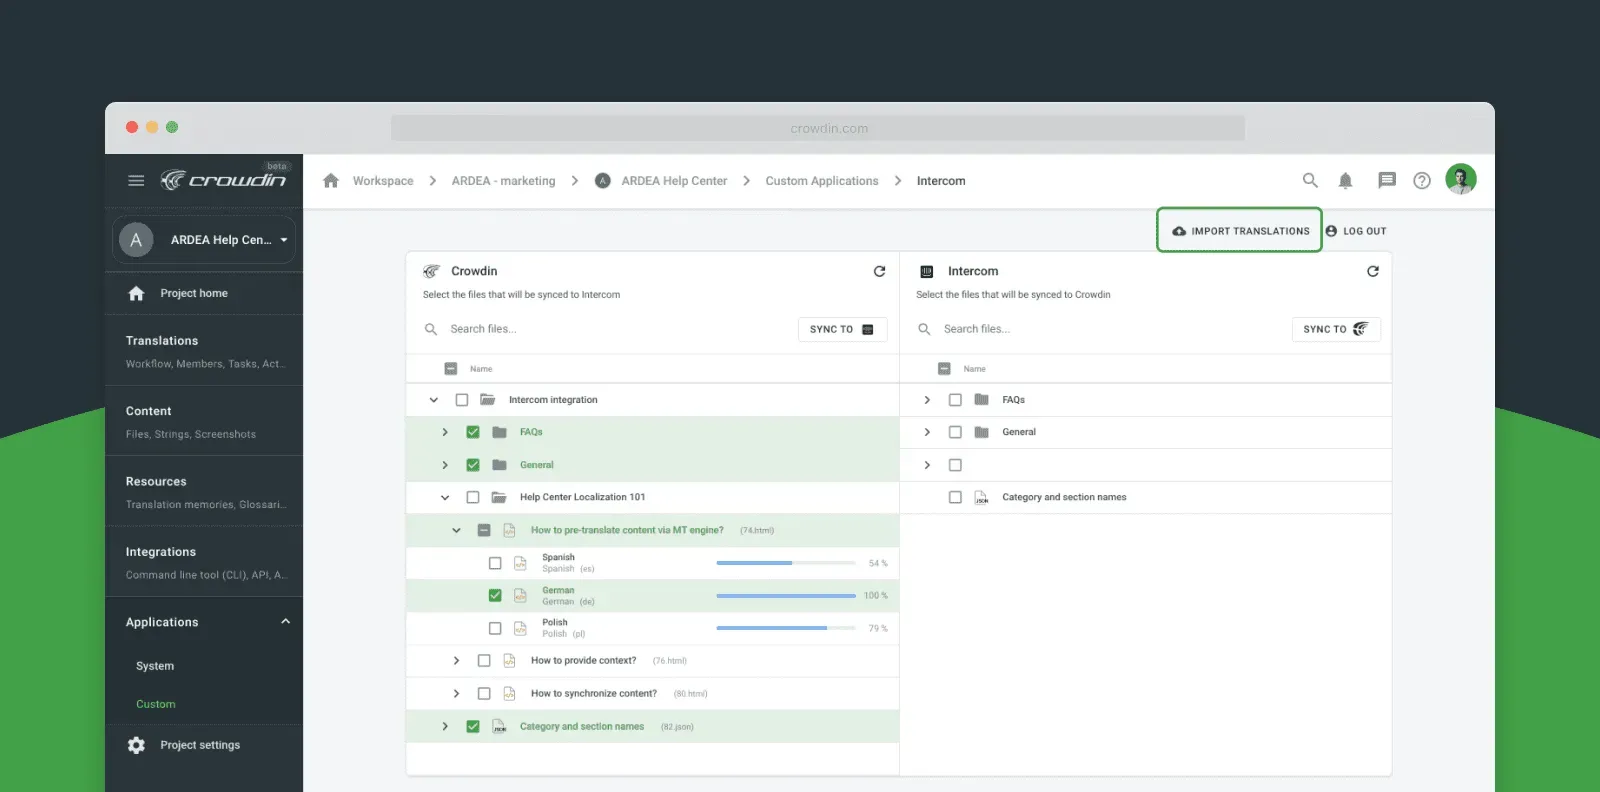
Once you have the Intercom app installed, you will find Import translations button above the synchronization window.
Keep in mind that new translations from Crowdin will overwrite existing ones if you forget to import files.
Go Ahead and Localize Your Intercom Help Center
Start making your help center articles multilingual. Register or log in to your Crowdin account and install the Intercom app. With two-way synchronization, you can instantly synchronize source files and translations between Crowdin and Intercom to localize your articles with ease.
Make your product multilingual with Crowdin
Diana Voroniak
Diana Voroniak has been in the localization industry for over 4 years and currently leads a marketing team at Crowdin. She brings a unique perspective to the localization with her background as a translator. Her professional focus is on driving strategic growth through content, SEO, partnerships, and international events. She celebrates milestones, redesigns platforms, and spoils her dog and cat.
